By Ryder Navarra
The process of making bread can be one that is an easy set and forget easy dough consisting of flour water sugar and yeast that can result in a fluffy and crispy end product that’s perfect for just eating on its own with butter, or going the extra mile and making a delicious sandwich with bread that was made by one’s own hands.
However, when the process of making anything is easy, there come along people who try to make it more complicated. And with bread being a simple and easy thing to make, it can also be one of the most tedious and difficult things that can happen. With the concept of making something more complicated in the bread world, comes sourdough bread.
How does one make sourdough bread and what’s the process? Is it like the pretentious, jar fermenting baked good that the internet sets it out to be? Honestly, yes. Yes, it is.
How does one Make Sourdough?
Well, little to my amusement, you need to first have a sourdough starter. If you can find one, then you’ve instantly made your life 1,000 times easier. You can very easily purchase a sourdough starter on Amazon for $10, and from there you just make the bread as follows:
First, whisk 5.35 ounces (about 158.22 ml) of your active sourdough starter, 8.80 ounces (about 249.48 g) of warm water, and ~.90 ounces (about 25.51 g) of olive oil in a large mixing bowl, then add 17.65 ounces (about 500.37 g) of BREAD FLOUR (Note that it has to be BREAD FLOUR, AND NOT ALL-PURPOSE FLOUR) as well as a pinch of salt in the bowl. After you add the flour and salt, do not be afraid to start mixing with your hands. After a while of kneading, you should have a dough that is best described as “A lumpy piece of sandpaper” as my father put it. Once that state is achieved, cover the bowl with either a very damp kitchen towel, or a piece of plastic wrap. Let the dough rest for 30 to 90 minutes (about one and a half hours), then after the time is up knead it into a rough ball. After the dough has been kneaded, let it sit and rise for around three to twelve hours in a room temperature environment.
After the dough has properly risen, take it out of the bowl and place on a countertop lightly coated in flour to avoid sticking. Once the dough is on the countertop, gently knead it into the shape most desirable. Next, choose the pot/ tray you will bake the bread on. I recommend a Dutch Oven, as that produces the best Color as well as texture due to the constant heat. Once the baking vessel has been chosen, lightly score the dough.
“What Should I Do if I don’t own a Dutch Oven?”
If you do not own a Dutch Oven, there are some work arounds. For one, you could try to use the common method of a “Stone and metal pot” in which you use something like a heated pizza stone and metal pot, to imitate the convection and heat of a Dutch oven. Another method is using two loaf tins clamped on top of one another to simulate the oven. If that’s too much work for you, at the end of the day the use of just a loaf tin can just be the solution to the non-existent problem. With that, however, keep in mind that the bread might not have a deep and dark color, as well the crumb not being as well put together.
Baking the Sourdough
Cover your dough using one of the options listed above and place it in the oven for 20 minutes on the center rack at 400 Fahrenheit. When the 20 minutes is up, take the lid off and bake for 40 minutes until the now bread reaches 200-210 Fahrenheit and is golden brown, deep, and rich in color.
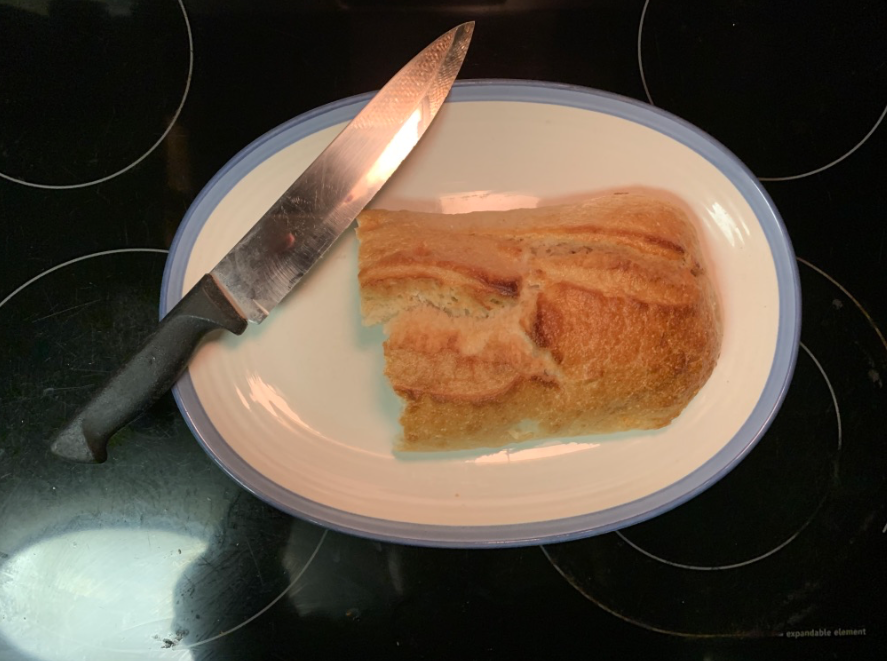
After baking, place on a wire cooling rack and let rest for at least an hour to cool and set. If the bread is cut to soon, it will be gummy and feel underbaked. Once your bread has set, cut and enjoy!
“Is there anything I can do if I don’t have Sourdough Starter?”
If you do not have a sourdough starter readily available, then one can make their own starter. Although it can be more tedious and time consuming, the overall process can be used for more than just bread; pizza crusts, focaccia, cinnamon rolls, you name it, can be made with sourdough starter.
Before you subject yourself to the torture that is making your own starter, keep in mind that the process itself takes around a week start to finish. Although the process isn’t difficult, it can be tedious at times. Be prepared to attend to the starter every couple of hours or so.
To start, you’ll need a jar that is three to four liters in size. Specifically, a jar with a latch system to make sure your jar doesn’t explode once the dough is fermenting. This is an important step, as my first time I made a starter, my combination of ignorance and lack of a latch on my jar caused it to explode.
After the decision of which jar to use is made, it’s time to create the starter. Combine 60 grams (Half a cup) of whole wheat flour and 60 grams (a fourth of a cup) of water into the jar and mix until smooth; it should be like a thick paste. Cover the jar with the lid and let it rest in a warm area for a day.
On day two, you’re going to make sure the starter is starting to ferment, also checking if there is any dark liquid in the jar. This is referred to as “Hooch” and is perfectly normal when making a starter. If you do see it, then dump it out and “feed” the starter using 60g (half a cup) of unbleached all purpose flour and 60 grams of water. Although on day two, the process of dumping and feeding isn’t necessary, as there shouldn’t be a lot of hooch in the jar just yet. So feeding is optional that day.
Days four, five, and six are really all the same. Dump out the dark liquid, pour the feeding paste into the jar, and mix it up until it looks right, then cover and keep in a dark and warm area until the next days.
And in a week, you’ll have a full-fledged starter! Now use the recipe above to make the bread, and you should have a loaf of bread that you made using your own two hands, and a convection oven.
Overall, the process of making bread can be tedious, although very rewarding. And with $18 and one broken jar later, I had my own loaf of sourdough bread.